
table of contents
Fansly is a platform where content creators connect with their fans, and DMs are a big part of that interaction. However, not all messages are welcome, and managing who can send you messages can save you a lot of hassle. Setting DM permissions allows you to filter out unwanted messages, prioritize your most important fans, and create a better experience for everyone involved.
Guide: How to Set DM Permissions on Fansly
Log In to Your Fansly Account
First things first, log in to your Fansly account. You will need to create an account if you haven’t already. You will see yourself on the dashboard after logging in.
Navigate to Your Profile Settings
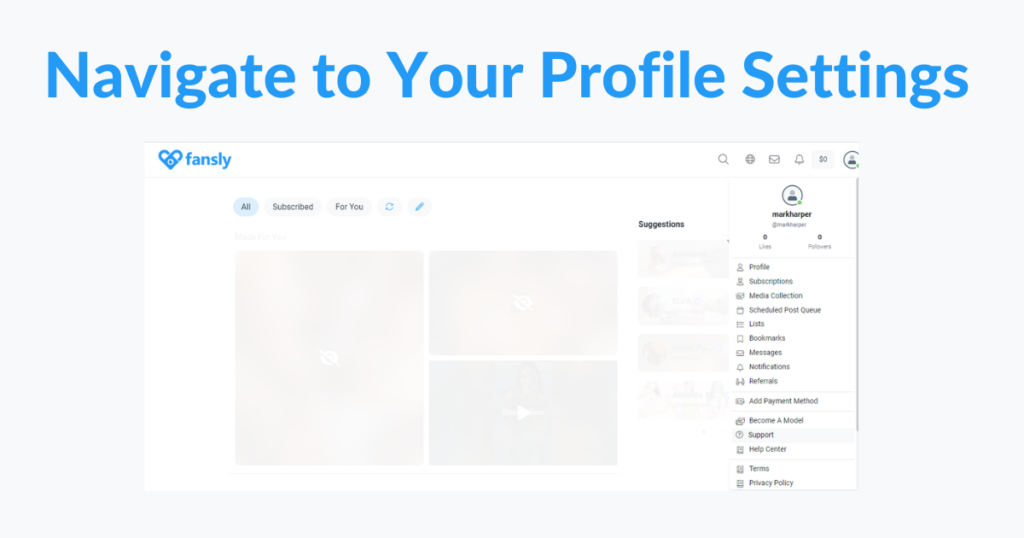
On your dashboard, look for the profile icon, usually located in the upper-right corner of the screen. Click on it, and from the dropdown menu, select “Settings.” This will take you to the area where you can customize your account preferences, including DM permissions.
Find the DM Permissions Section
In the settings menu, scroll down until you find the “DM Permissions” section. This is where you’ll be able to adjust who can send you direct messages on Fansly.
Choose Your Preferred DM Settings
Here, you’ll see several options for managing your DMs:
- Everyone: Allow anyone to send you messages.
- Subscribers Only: Only allow people who subscribe to your content to send you messages.
- No One: Block all DMs, ensuring that no one can send you a message unless you initiate the conversation.
Choose the option that best fits your needs. For example, if you want to prioritize communication with paying subscribers, select “Subscribers Only.”
Save Your Settings
After selecting your preferred option, make sure to click the “Save” button at the bottom of the page. This will ensure that your changes are applied immediately.
Tips for Managing Fansly Messages
- Set Boundaries: If you’re overwhelmed with messages, consider limiting DMs to subscribers only. This helps in maintaining a manageable inbox and ensures that your time is respected.
- Auto-Responses: Fansly allows you to set up auto-responses for your messages. Use this feature to acknowledge receipt of messages and set expectations for when you’ll respond.
- Regularly Review Your Settings: Your needs may change over time, so it’s a good idea to review your DM permissions periodically to ensure they still align with your goals.
Common Issues and How to Solve Them

- Not Receiving Messages: If you’ve set your DMs to “No One,” you won’t receive any messages unless you initiate them. Double-check your settings if you’re expecting messages and not receiving them.
- Too Many Messages: If your inbox is overflowing, switching to “Subscribers Only” can help. This will ensure that only those who are genuinely interested in your content are able to reach out.
Conclusion
Managing your direct messages on Fansly is crucial for maintaining control over your interactions and ensuring a positive experience on the platform. By following the steps outlined in this guide, you can easily set DM permissions that suit your needs. Remember, it’s all about finding the right balance between accessibility and privacy. Happy messaging!
